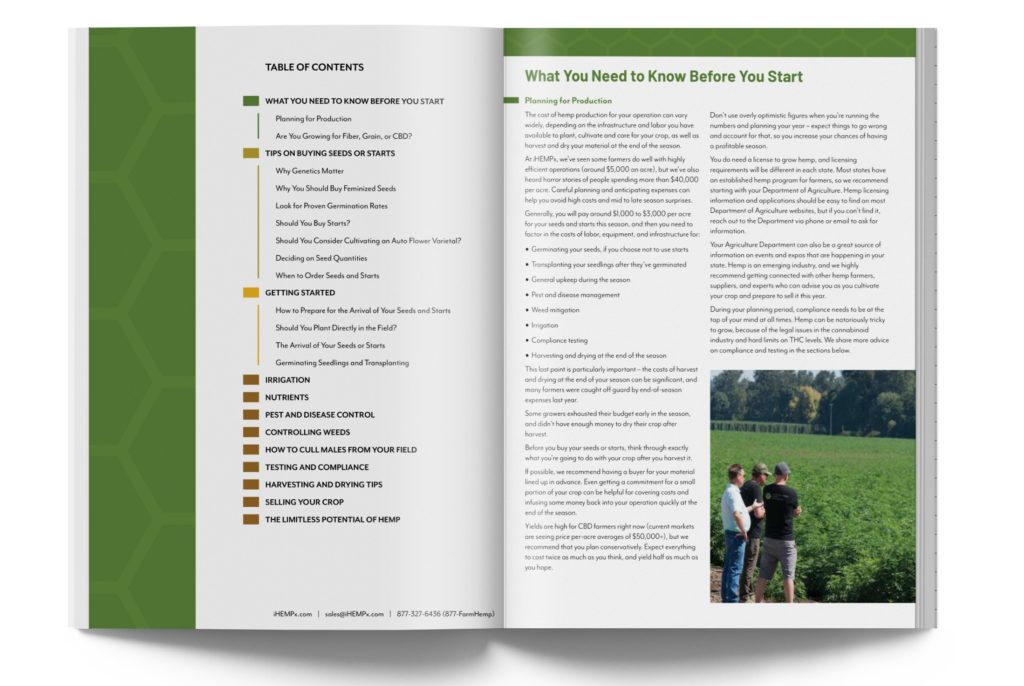
Are you creating your plan for hemp-growing success in 2021?
The popularity of hemp farming has exploded over the past few years, thanks to the passage of the 2018 Farm Bill – so we know there are many farmers transitioning fields to hemp for the first time, or they’re fairly new to the industry and looking to learn as much as possible.
With that in mind, we thought it would be helpful to give you a few quick tips for growing the best possible hemp crop this season.
This is a quick list of our top suggestions for success – but if you’re like a more detailed guide to growing hemp, you can click the link or image to access our free How to Farm Hemp e-book.
10 Tips for Growing Hemp
1. Plan ahead and do your research before you buy. Do some careful planning before you order hemp seeds or starts. Your weather conditions, soil, and infrastructure will be different from other farmers, so your plan will be unique. Include a plan for your harvest, too. Last year, many farmers failed to consider how they were going to get their material out of the field and dry it, and they ended up losing money on their crops. Planning ahead will save you a lot of time and effort later in the season, so make sure to take all factors into consideration.
Think about your operation’s equipment, your available labor pool, regional weather differences, soil, water, and irrigation/pest control plans, before you make decisions about which varietials you’ll buy in which quantities. The more you plan ahead, the greater your chance of success will be at the end of the season.
2. Connect with local resources in your region. We always recommend connecting with your state or local hemp-growing resources for more information about what’s required in your area. Start with your state’s Department of Agriculture to get their advice and learn about networking opportunities and events that support your supply chain.
3. Create an irrigation plan that will help your plants thrive. Hemp is typically drought tolerant, but in many regions, you’ll get a better yield and higher quality if you plan to irrigate. Consider the irrigation equipment you’ll need before you buy your seeds and starts.
4. Order your hemp seeds and starts. Once you’ve got a game plan based on your regional factors and infrastructure needs, it’s time to order. If you’re growing for the CBD market, we recommend buying feminized seeds, which predominantly produce female plants. Using feminized hemp seeds can vastly cut down on waste and reduce the amount of time you spend culling males out of your fields later in the season.
5. Time the arrival of your order. If you order your starts early (January or February) you can often choose the specific day(s) when you want your plants to arrive, to coincide with your planting timeline. If you order hemp seeds, they will ship immediately after you order. Remember to work backward from your target transplant timing and allow time to germinate seeds.
6. Store your hemp seeds properly. Moisture and light are your enemies when you’re storing your seeds, so plan to keep them in a cool, dark place. We’ve been hearing reports of people storing them in refrigerators or freezers, but we don’t recommend that long-term. While it’s best to plant your hemp seeds in the season following purchase, our hemp seeds can be stored for 3 to 5 years under good conditions.
7. Prepare for the arrival of your starts. If you order starts, they will arrive on a refrigerated tractor trailer truck. You’ll need a forklift or tractor to unload your plants. Depending on your location, your seedlings will have been in the truck for 5 to 30 hours before they arrive. Ideally, you’ll give them some water, and move them to a spot where they can get natural sunlight. If you’re not immediately able to get them into the ground, make sure you have a plan for watering during the waiting period.
8. Germinate the smart way. If you choose to buy hemp seeds and germinate them yourself, we recommend growing them in a greenhouse environment. Plan for approximately 4 weeks (28 to 30 days) from sowing your hemp seeds to planting the starts in your field, depending on the size of your tray and the size of your root mass. Use a soil mix that is hospitable for hemp seedlings, instead of using soil from your field to propagate your starts.
9. Don’t skip the hardening off process. Before you transplant your seedlings to the field, you’ll need to get them acclimatized to the harsher outside conditions. This acclimatization process is called hardening off, and you’ll need to plan for it. You can open up your greenhouse, or put your plants out during the daylight hours for a few days, before returning them to the greenhouse at night.
10. Bring in an outside expert to help you troubleshoot. We know that farmers like you are always going to have the best eyes on their crop, and they will be in tune with what’s happening in their field – but it never hurts to get another pair of eyes on your crop. We recommend bringing a third party (like an agronomist or a rep from your fertilizer company) to help you walk the field and identify bugs, disease, and other issues.
If you have questions about how to successfully grow hemp in your geographical area, or you’d like help identifying third-party advisors who can help you, we’d like to assist! Contact us to set up a free call to discuss all your supply-chain needs.

